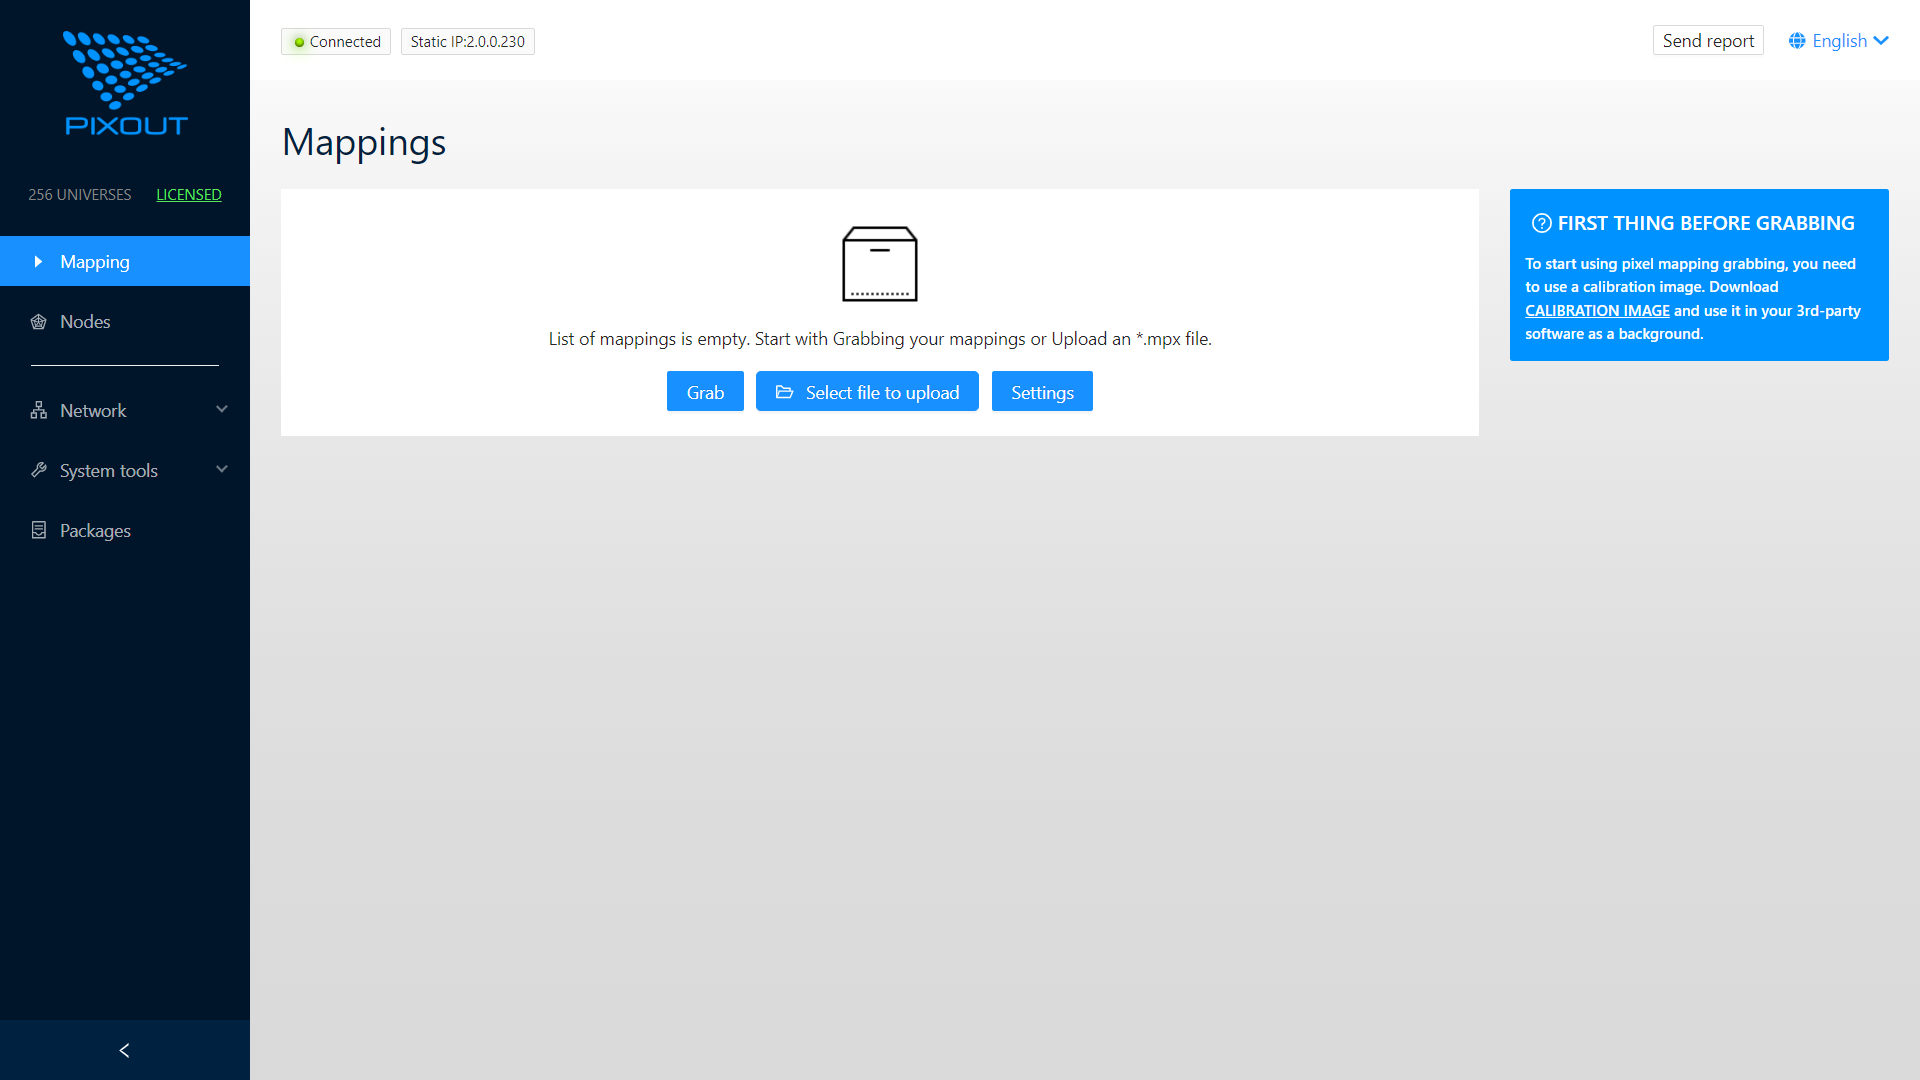
Mapping
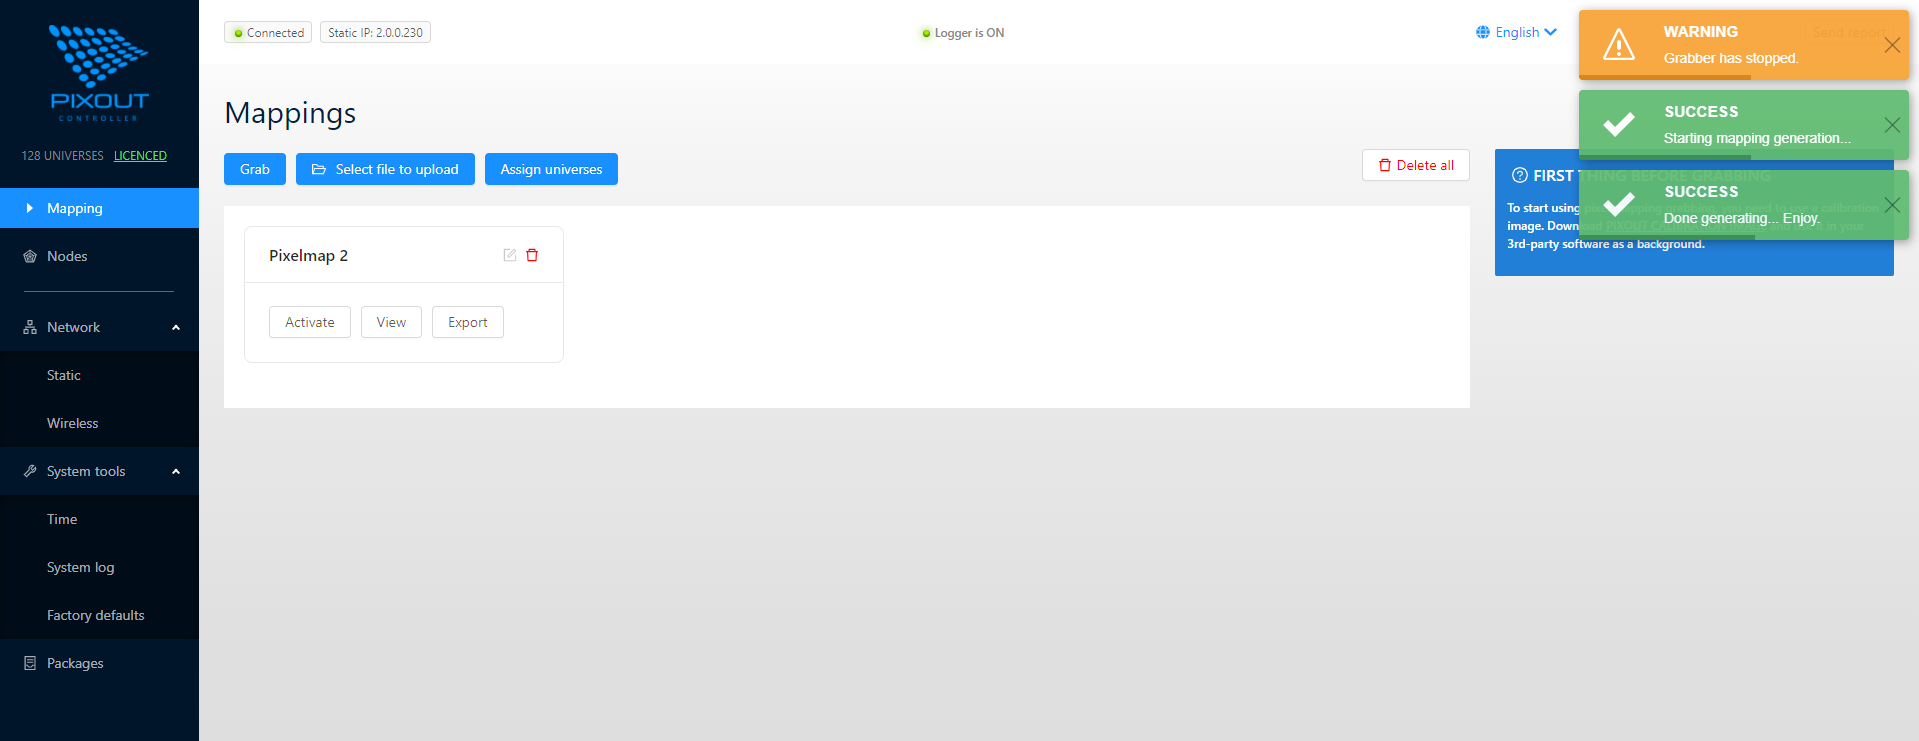
The Mapping page allows you to create, import, export, and activate pixel mappings for your HDMI ArtNet Converter.
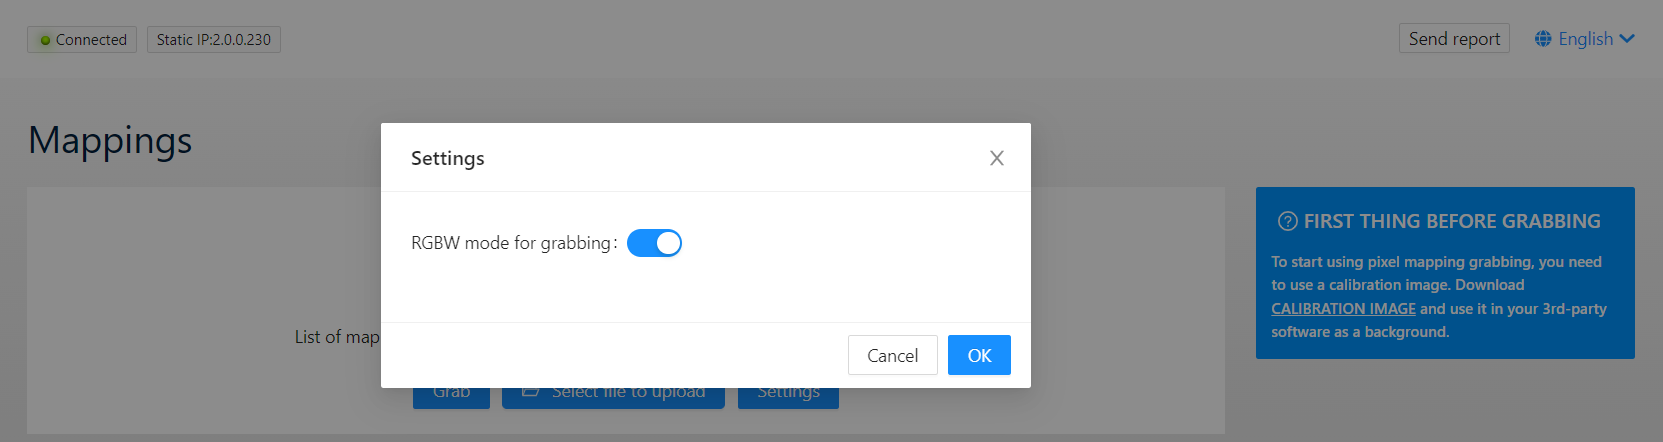
Settings
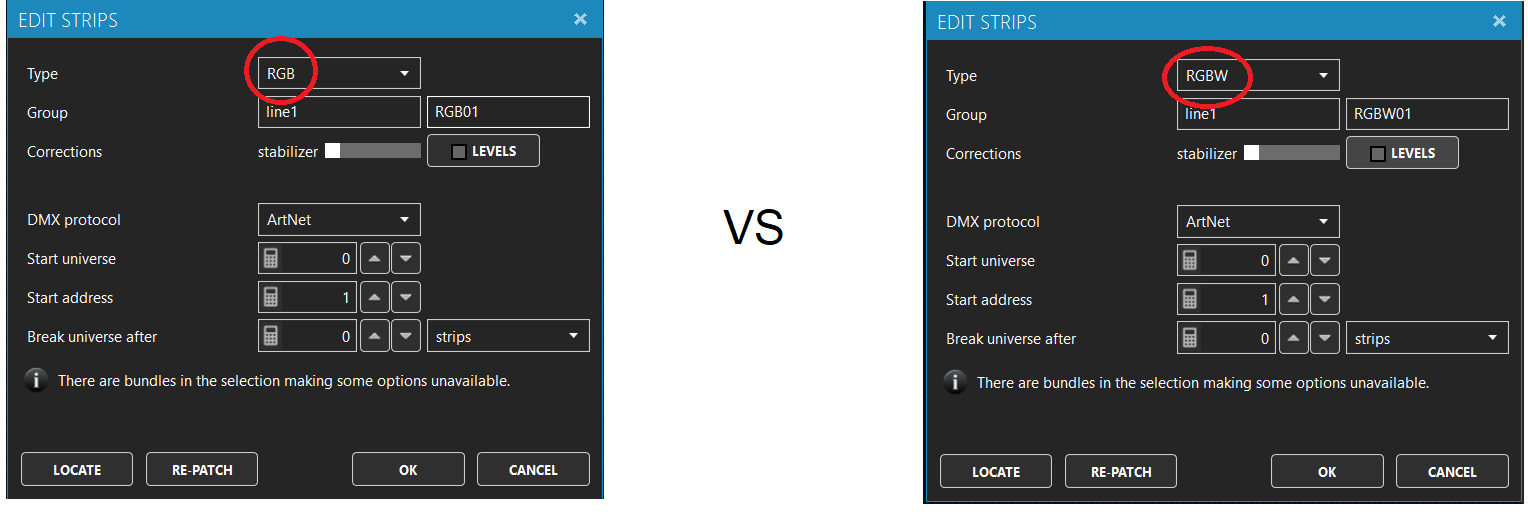
Before grabbing a mapping, specify the color type (RGB/RGBW) in the Settings dialog:
You only need to set the RGB or RGBW color type before grabbing. Once captured with the correct color type, you can freely switch between mappings with different color types.
Import Methods
You can import pixel mappings in two ways:
- Record from any ArtNet source
- Import from MPX file
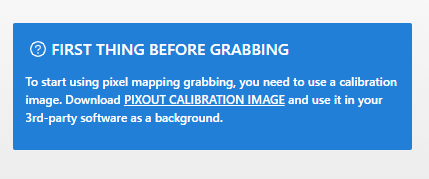
The calibration image is required for the grabbing process. Please read the on-screen instructions carefully.
Grab a Mapping from ArtNet Source
Example: Using ENTTEC LED Mapper (ELM)
- Create a pixel mapping project with the calibration image
pixelom.bmpas background
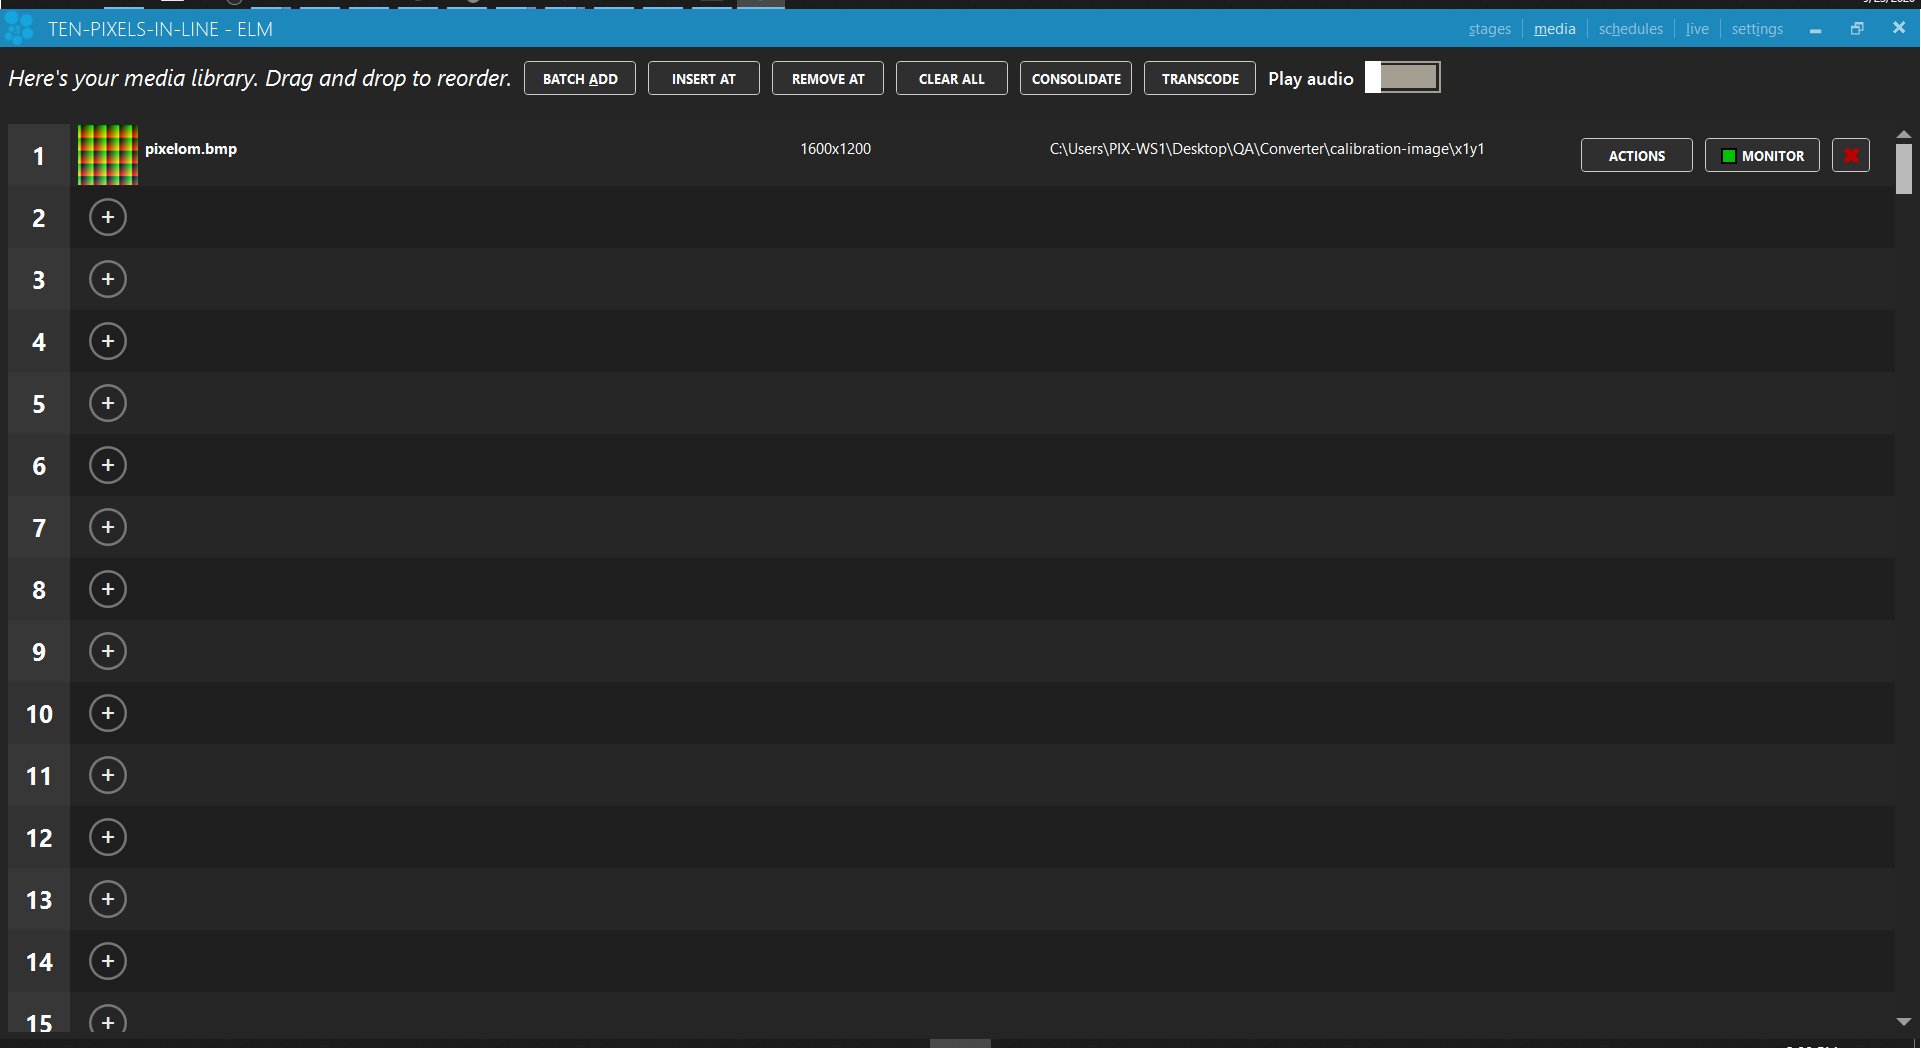
- Create your pixel layout (example: 10 pixel RGB line)
Ensure the RGB/RGBW color type matches in both the Pixout Admin Panel and your third-party software.
-
Select the correct color type in Admin Panel → Mapping → Settings
-
Ensure ELM and the Converter are on the same network
-
Click the Grab button in the Mapping section
If grabbing doesn't start, verify that ELM and the Converter are on the same network and that broadcast/unicast is configured correctly.
Mapping Options
After successful grabbing, each pixel mapping has the following options:
| Option | Description |
|---|---|
| Name | Display name of the mapping |
| Edit | Change the mapping name |
| Delete | Remove the mapping |
| Activate | Use this mapping for conversion |
| View | Preview and detailed view |
| Export | Download mapping to your PC |
Pixel mapping names can be edited by clicking the pencil icon.
Import from File
You can import two types of files:
- MADRIX 3 MPX file (from Madrix → Patch section)
- Pixout HDMI Converter exported MPX file
After importing, the mapping will be available for activation.
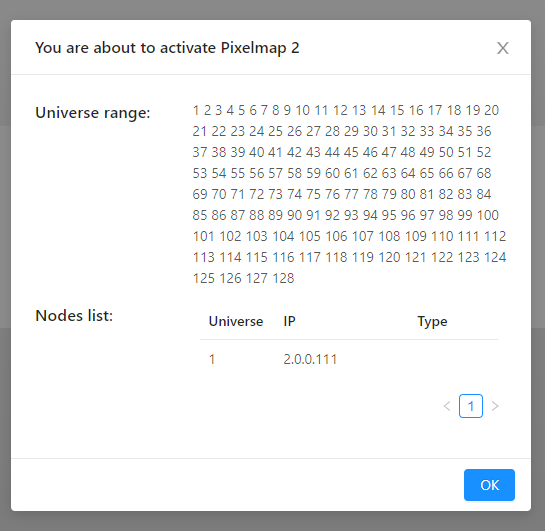
Activating a Mapping
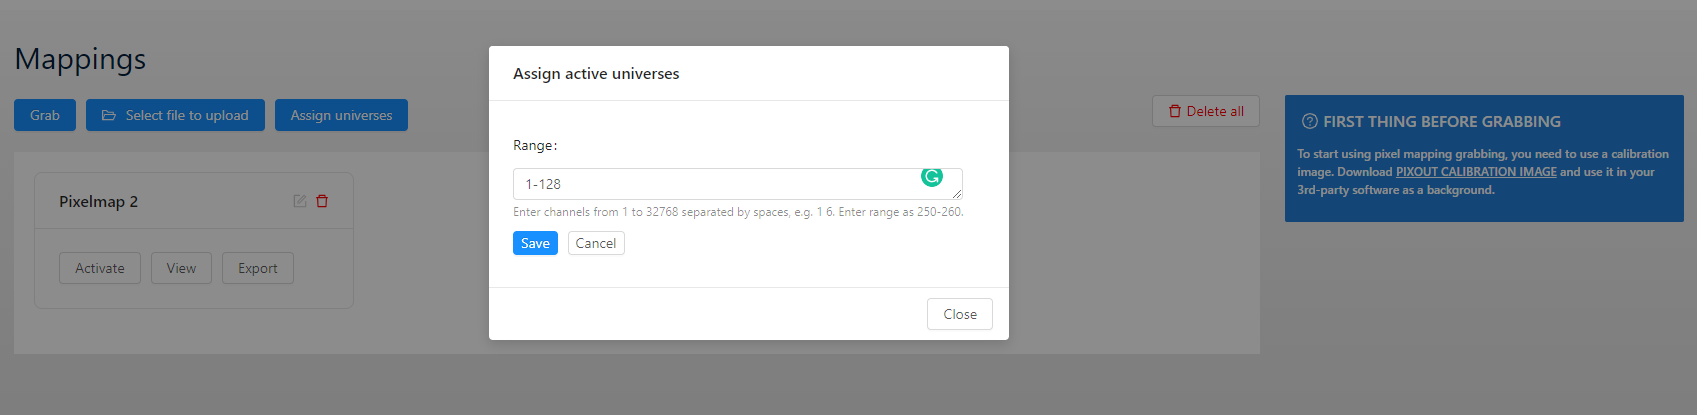
Before activating, specify the maximum number of universes in use. This only needs to be done once. For multiple converters, you can specify different universe ranges (e.g., 1-128, 128-256).
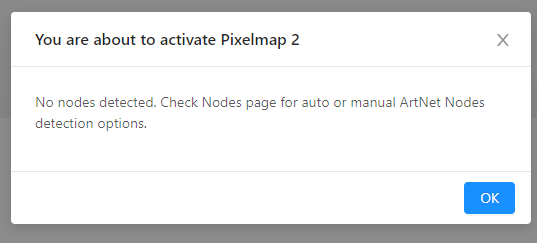
Click Activate to enable a pixel mapping. If you see a warning about nodes, you need to configure your Nodes first.
Once nodes are configured correctly:
After reboot, the Converter will automatically resume playing the last activated pixel mapping.
Pixel Mapping View
Click View to preview any mapping:
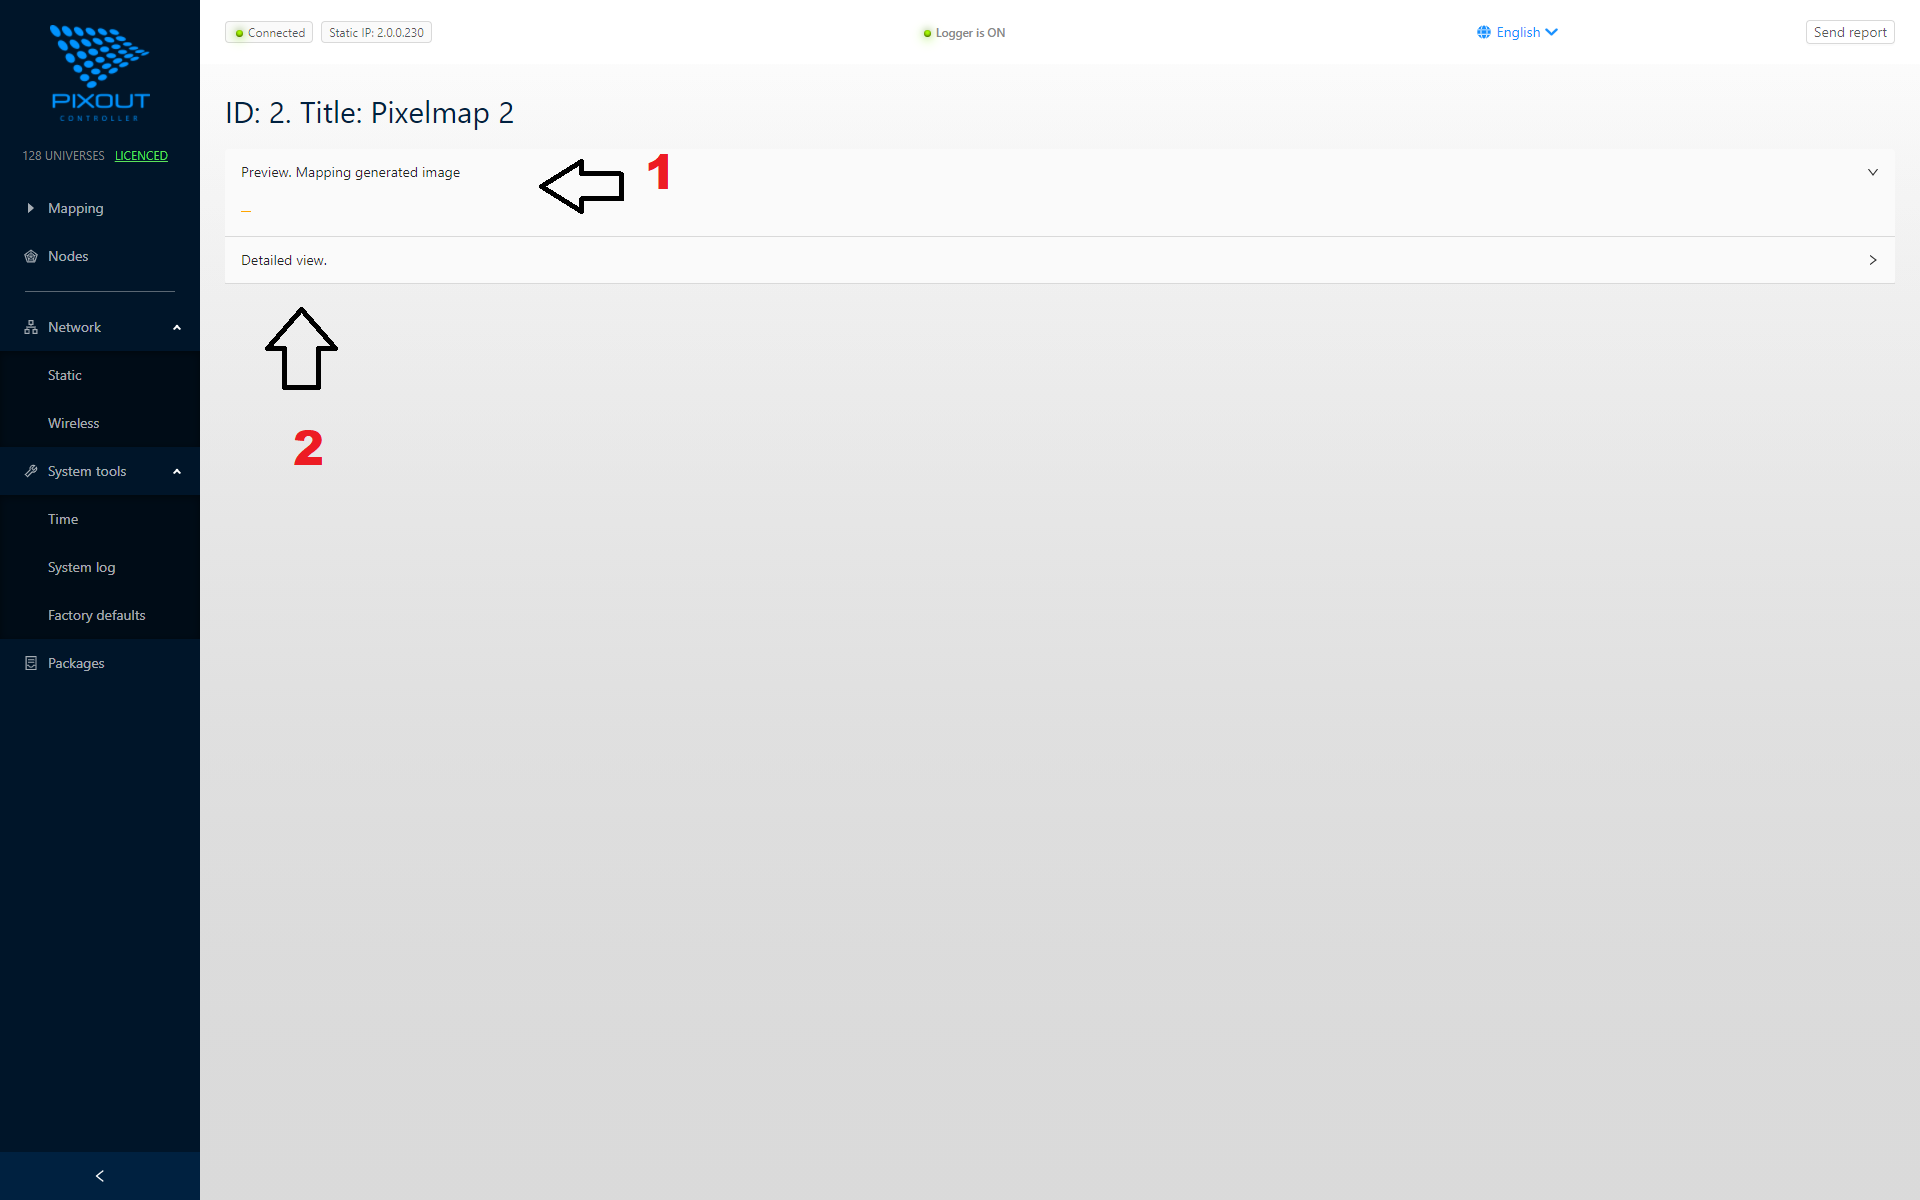
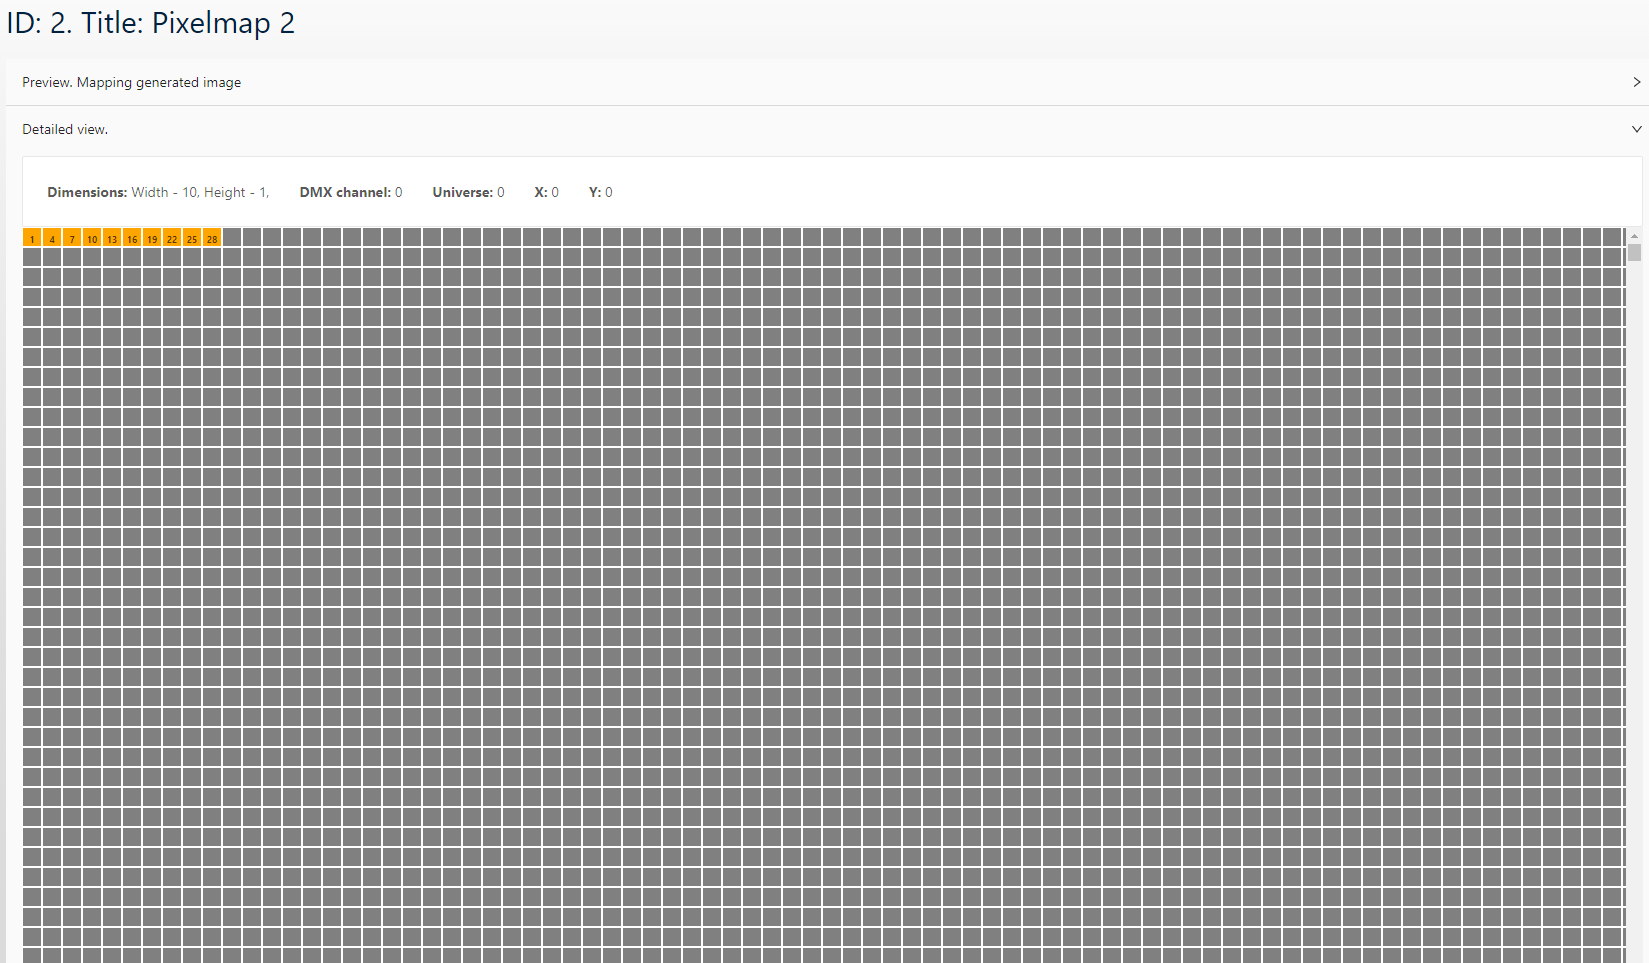
Click Detail to see individual pixel information. Hover over pixels to view:
- DMX channel
- Universe
- X, Y position
Storage
The total number of pixel mappings is limited only by SD card capacity. The included 8GB SD card can be upgraded if needed.