Unboxed Version

Specification
Hardware: Raspberry Pi
| Model | Support |
|---|---|
| RPI 1B+ | With Edimax EW-7811Un Wi-Fi dongle |
| RPI 2B v1.1 | With Edimax EW-7811Un Wi-Fi dongle |
| RPI 2B v1.2 | No Wi-Fi supported |
| RPI 3B | Fully supported |
| RPI 3B+ / CM3 | Fully supported |
| RPI 4 / CM4 | Fully supported |
General
| Parameter | Value |
|---|---|
| Protocol | ArtNet DMX |
| Internal storage | micro SD card |
| Dimensions | 85.6 / 53.98 / 17 mm (L/W/H) |
Connection
- RJ45 socket for 10/100Base-TX
- Wireless network 150Mbps
Power
- DC power 5V micro USB
Getting Ready to Use
After purchasing the Unboxed version (PIXOUT SOFTWARE ONLY), please install firmware on SD card for using with your Raspberry Pi. To flash your Raspberry Pi with Pixout Software, please follow the next steps:
Step 1: Download Firmware
Download and extract Pixout Software image for your device:
| Device | Download Link |
|---|---|
| Raspberry PI 3B/3B+ (S-100 model old) | pixout-rpi3bp-ver2.zip |
| Raspberry PI 4 (S-100 model new) | pixout-rpi4-ver2.zip |
| Raspberry PI CM4 (I-100 model) | pixout-i100-ver2.zip |
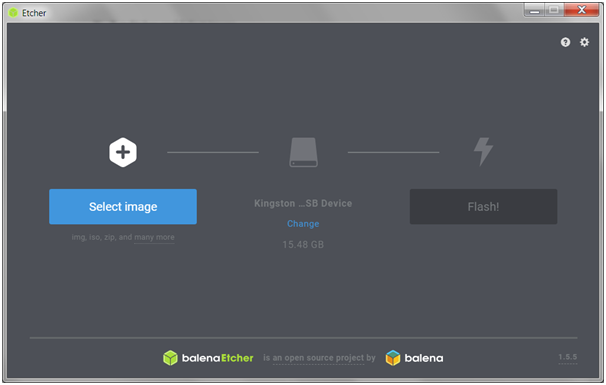
Step 2: Download Etcher
Download and run Balena Etcher
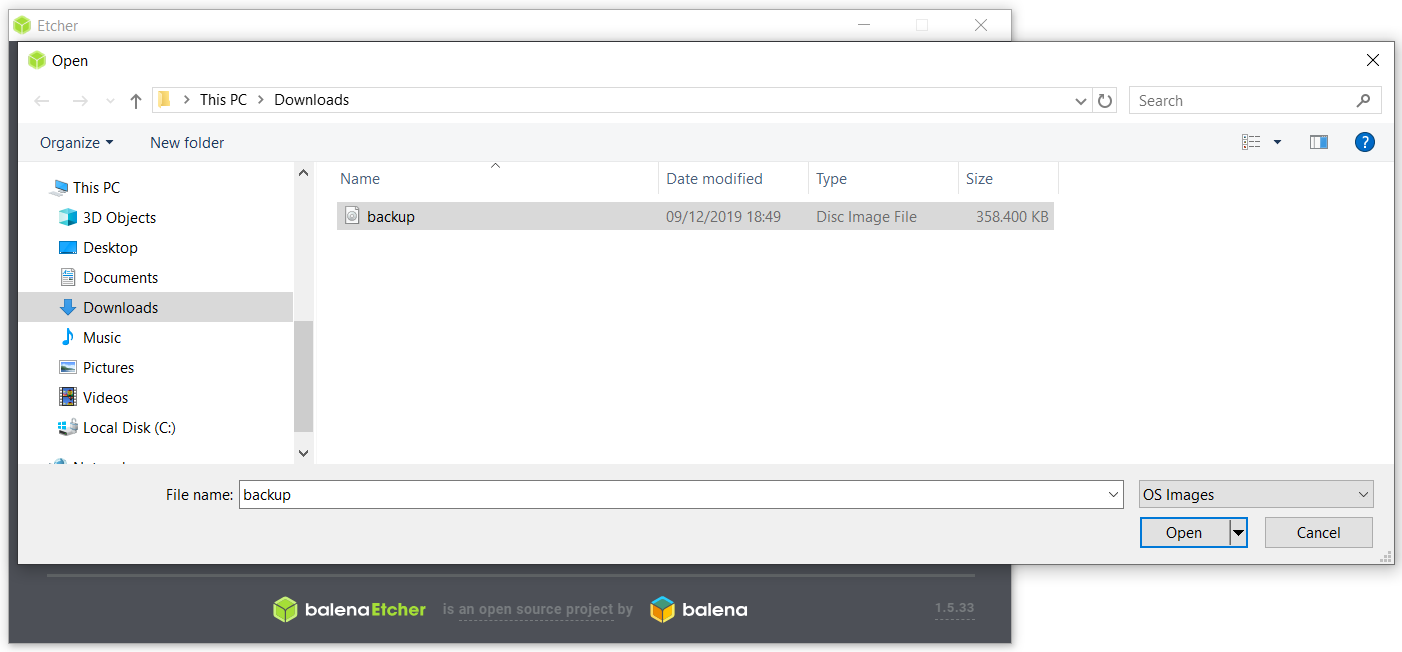
Step 3: Select Image
Select zipped or extracted Image backup.img.
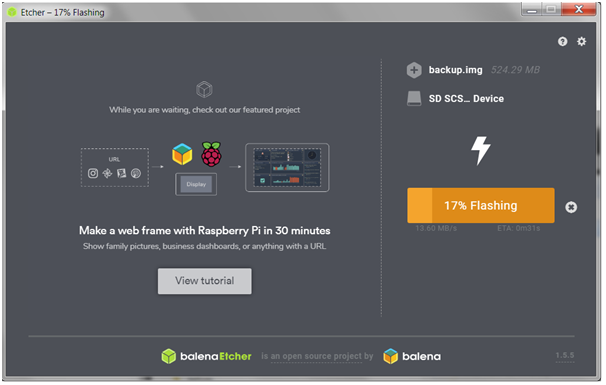
Step 4: Select Drive
Select the drive where SD card is installed and click Flash button
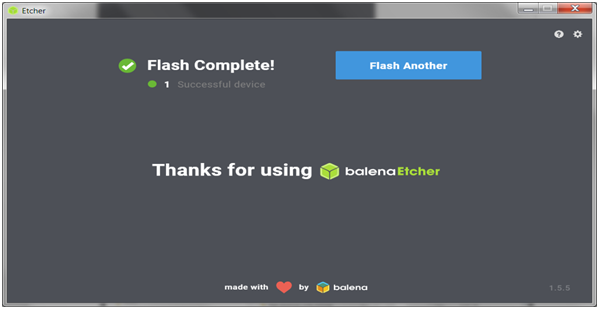
Step 5: Flash Complete
After Flash is completed, you are ready to use Pixout software.
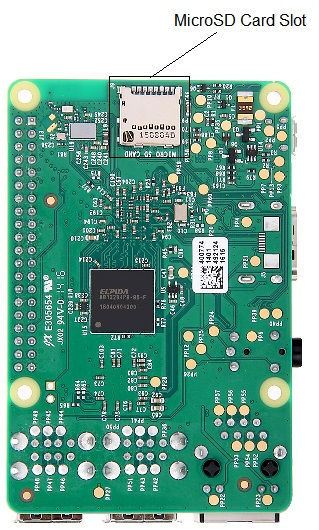
Step 6: Insert SD Card
Insert SD card into the appropriate slot
Your device is ready to use!
Last thing is to connect to your device as described in section Getting Started and activate your license as described in the section Licensing.
eMMC Reflashing
This part explains how to reflash the eMMC storage on the Pixout I-100 device.
Before proceeding, please read the official Raspberry Pi Compute Module documentation.
1. Preparation
Ensure you have access to:
- A Windows-based host PC
- A MicroUSB cable
- The Pixout I-100 device and its enclosure
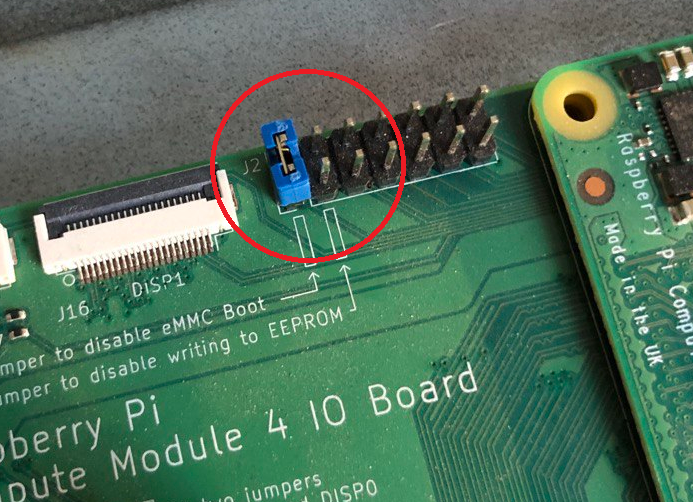
2. Configure the IO Board
- Power off the I-100 device
- Unscrew the I-100 enclosure by removing the four screws (two on each side)
- Place a jumper on the J2 header (nRPI_BOOT) on the IO board to disable eMMC boot mode
- Connect a MicroUSB cable between the I-100 device and your Windows PC
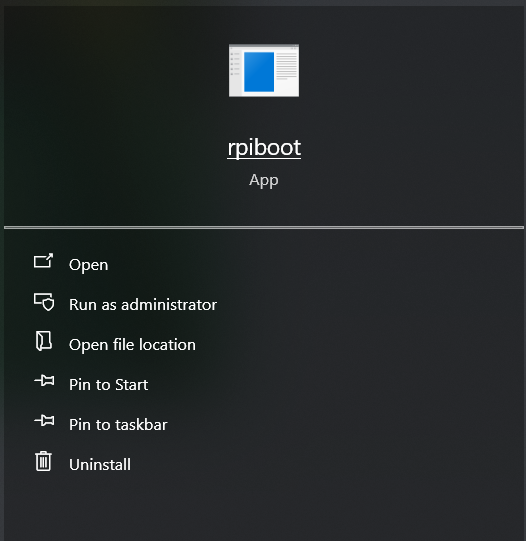
3. Configure the Host PC (Windows)
- Download the rpiboot installer
- Run the installer. It will install required drivers and the rpiboot tool. Do not close any driver installation windows that may appear
- Reboot your Windows PC after installation
- Run the rpiboot tool from the Start Menu
- Connect the I-100 device to power. Windows should automatically detect the hardware and install the necessary drivers
4. Flash the Firmware
Flash the firmware as described in the steps above. Use the correct I-100 firmware image when flashing.
5. Final Steps
- Remove the jumper from the J2 header (restore it to an open state)
- Reassemble the I-100 enclosure by screwing it back together
- Power on the I-100 device
- Re-enter the same license key used previously. Each device must use its designated license key.